
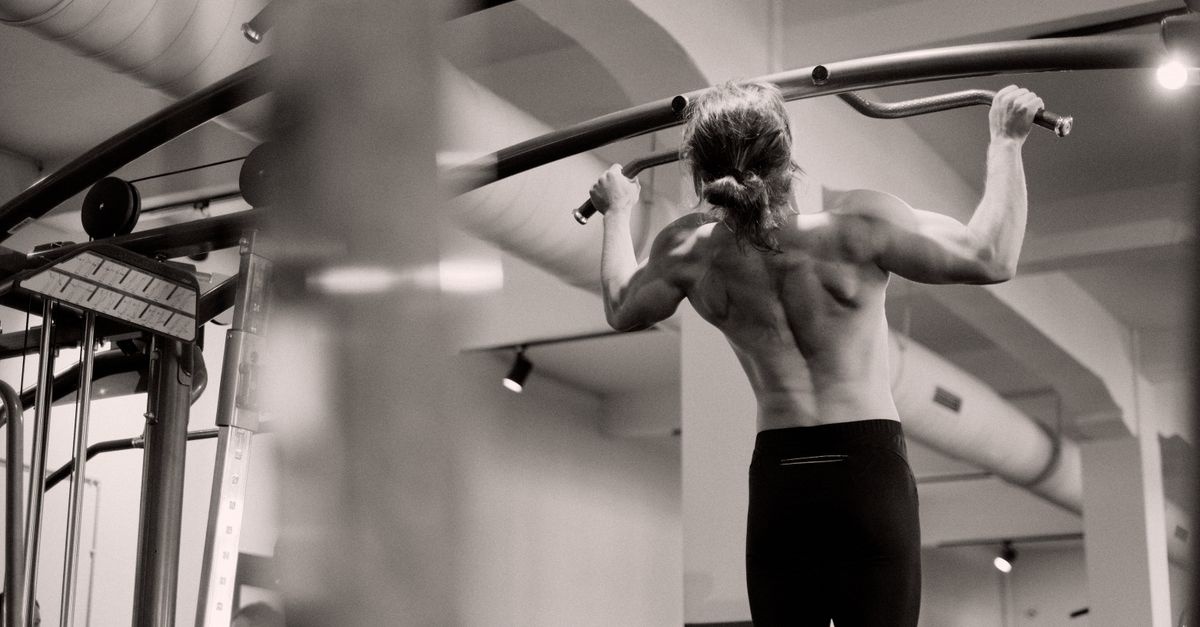
Introduction: Why Pull Ups Still Reign
Among bodyweight movements, pull ups remain a timeless test of strength, control, and body composition. They require minimal equipment, reward good form with steady progress, and expose weaknesses you can immediately address. From field athletes to desk-bound professionals, the ability to own your bodyweight on a bar says a lot about your training consistency and movement quality.
Whether you’re chasing your first strict pull ups or adding plates for heavy sets, you’ll find everything you need here. In this guide, you’ll learn efficient pull up technique, the science-backed benefits, progressive roadmaps, and practical ways to program the movement across different training goals. You’ll also see how to structure pull ups across skill levels without stalling.
The Benefits of Pull Ups
The benefits of pull ups go far beyond a stronger back. As a vertical pulling pattern, they train large muscle groups through a long range of motion while reinforcing shoulder stability. By training vertical pulling, pull ups build lat width, upper-back density, and grip endurance that transfer well to sports and everyday life.
- Time efficiency: Few exercises match pull ups for total upper-body stimulus per minute. You’re training the lats, biceps, forearms, rear delts, and deep stabilizers at once.
- Scalable overload: From bands to tempo to added weight, pull ups scale seamlessly as you grow stronger. You can progress load, volume, tempo, or range.
- Real-world carryover: Improved posture, scapular control, and grip from pull ups support climbing, grappling, swimming, and any task that demands a strong pull.
Muscles Worked and Back Growth
When performed correctly, pull ups light up the latissimus dorsi (lats), teres major, rhomboids, mid/lower trapezius, rear deltoids, biceps brachii, brachialis, and the forearm flexors. Your core and glutes stabilize the pelvis and ribcage so the shoulder can stay centered and powerful throughout the rep.
For many trainees, the goal is a wider, thicker back. That’s where the synergy of volume, form, and progression shines. By connecting the hands to the lats through the elbows and controlling every inch of the path, you create a potent recipe for pull ups and back muscle growth. If you can feel your mid-back pulling the elbows into your side pockets while keeping your ribs stacked, you’re on the right track.
Finally, remember that your shoulder blades should move. A smooth upward rotation as you hang and a strong downward rotation and depression as you initiate each rep help you stay pain-free and powerful during pull ups.
- Think “elbows to hips” to recruit the lats in pull ups.
- Keep the ribs down and glutes lightly braced to avoid overextension.
How to Do Pull Ups: Technique Cues That Stick
If you’ve ever wondered how to do pull ups without swinging or shrugging, this is your blueprint. Great technique reduces injury risk, maximizes muscle recruitment, and makes your reps repeatable from set to set. Here are simple cues you can apply today, whether you’re at a park bar or a commercial gym.
- Set the grip and shoulders: Set up for pull ups with hands just outside shoulder width. Wrap your thumb around the bar and squeeze hard to “connect” your forearms to your lats.
- Hang and organize: For strict pull ups, begin with a hollow body: ribs down, glutes lightly on, legs together. Allow a controlled, active hang with long arms and the shoulder blades slightly elevated.
- Initiate through the back: Throughout pull ups, think “shoulders down and back” first. Engage the lats, then drive elbows toward your hips as your chin rises toward (not craning over) the bar.
- Finish and descend: Finish your pull ups by bringing your chest toward the bar without flaring the ribs. Lower under control for 2–3 seconds to keep tension and own the eccentric.
Breathing: Inhale as you settle into the hang, brace, then exhale through the sticking point on hard pull ups. Consistent breath patterns stabilize your trunk and sharpen focus.
Grip, Width, and Equipment
- Grip width: Slightly wider than shoulders suits most bodies. Extremely wide grips often reduce range and comfort.
- Bar type: A neutral or thicker bar can be easier on wrists and elbows. Rotating handles help if you get forearm tightness.
- Chalk: Chalk improves friction and confidence; use a light layer to protect skin.
Pull Up Variations: Build Strength Without Boredom
Exploring pull up variations keeps training fresh, targets specific weaknesses, and manages stress on the joints. Rotate variations every 4–8 weeks or use them as accessory work alongside your main sets. Rotating variations weekly to keep pull ups fresh is a proven strategy for longevity and progress.
Neutral-Grip Pulls
Neutral handles are friendly to elbows and shoulders. Many lifters feel their lats more strongly with this hand position, making neutral-grip pull ups a go-to on higher-volume days.
Chin-Ups (Supinated Grip)
Chin-ups emphasize the biceps and lower traps a bit more. They’re a strong builder for beginners and pair well with overhand work. Used together, chin-ups complement pull ups to round out your vertical pulling.
Archer and Typewriter
These advanced pull ups shift more weight to one side, building unilateral strength and a rock-solid mid-back. Keep reps low and technique pristine.
Commando, L-Sit, and Towel
Hybrid options challenge the core, grip, and scapular control. Towel work torches your forearms and makes standard pull ups feel easier later.
Pull Ups for Beginners and Smart Progressions
Pull ups for beginners start with building joint capacity, pattern familiarity, and time under tension. If you can’t do any pull ups yet, you can still train the full movement pattern with scalable tools while your strength climbs.
Pull Up Progressions Roadmap
- Dead hangs: Build grip and shoulder tolerance with 3–5 sets of 10–30 seconds. These support the shoulders for stronger pull ups.
- Scapular pulls: From the hang, depress and retract the shoulder blades without bending the elbows. These teach the first inches of pull ups.
- Tempo negatives: Jump or step to the top and lower in 3–5 seconds. Control the descent to groove pull ups.
- Banded or foot-assisted: Use a light band or a box under your feet and smoothly offload just enough bodyweight.
- Horizontal rows: Ring rows and bar rows build the mid-back strength that complements pull ups.
Stick to two or three of the above for 4–8 weeks. Track total time under tension and increase either the seconds per negative or the total reps weekly. Stringing together clean reps turns practice into consistent pull ups.
Assisted Pull Ups: Scalable Strength
Assisted pull ups let you train the exact pattern at a manageable intensity while dialing in your positions. The goal is always to use the least assistance necessary for smooth, full-range reps and gradually reduce it as strength grows.
- Bands: Anchor a light band to the bar and place a knee or foot in. Bands let you accumulate volume on pull ups while maintaining your line of pull.
- Partner spot: A slight lift at the shins or hips preserves the mechanics of strict pull ups without doing the work for you.
- Assisted machine: Use it to groove your path and control tempo, then graduate to unassisted pull ups as soon as you can.
Weighted Pull Ups: Turn Strength Into Power
Once you can perform 8–10 strict pull ups, add plates for weighted pull ups. Progressive load taps into untapped fibers and keeps the pattern improving when bodyweight sets are easy.
- Loading options: Dip belt and plates, weight vest, or a dumbbell between crossed feet for heavy pull ups. Choose a setup that lets you keep your line of pull consistent.
- Rep zones: Rotate heavy triples, moderate sets of 5–8, and back-off pump sets to keep pull ups progressing without crushing your elbows.
Safety tip: Keep elbows tracking slightly forward, not flared, and avoid jerking out of the bottom. Control the first inch of the movement before adding more load.
Designing a Pull Up Workout Routine
Your pull up workout routine should balance intensity, volume, and recovery. In practice, your weekly plan should alternate heavier efforts with skill-focused sessions so that pull ups improve steadily.
Beginner Template (2–3 days/week)
- Day A: Negatives 4–6 sets x 1–3 reps; Ring rows 3–4 sets x 8–12; Dead hangs 3 sets x 20–30s.
- Day B: Banded overhand 4–6 sets x 3–6; Scapular pulls 4 sets x 6–10; Light core bracing.
- Weekly goal: Accumulate 15–30 total pull ups equivalents via bands/negatives with pristine form.
Intermediate Template (3 days/week)
- Day A (Strength): 5–8 sets of 3–5 overhand reps at RIR 1–2; Superset with face pulls.
- Day B (Volume): 4 sets close-grip chin-ups 6–10; 3 sets of isometric holds at top.
- Day C (Density): EMOM 10 min of 2–4 smooth reps; Add a rep when you complete all minutes cleanly. Train 3 days with 5–8 sets of submaximal pull ups.
Advanced Template (3–4 days/week)
- Day A: Weighted pull ups 6x3 (progress load weekly); Accessories for scapular stability.
- Day B: Neutral-grip 4x6–8; Towel hangs for grip.
- Day C: Power EMOM 10x2 explosive reps; Back-off pump set 2xAMRAP at bodyweight.
- Day D (optional): Volume wave 5x5 or 4x8, leaving 1–2 reps in reserve to manage fatigue. Alternate weighted pull ups and volume-focused pull ups across the week.
Common Mistakes and Fixes
Most issues with pull ups trace back to inconsistent positions, poor scapular control, or trying to force reps before they’re truly earned. Here’s how to spot and fix the most common problems.
- Kicking or kipping early: Save dynamic styles for when you’ve mastered strict work. Swinging to cheat reps teaches bad habits and stalls strict pull ups.
- Half reps: Get the chin clearly to the bar, then lower to a full, active hang. Train full range so strength transfers beyond easy pull ups.
- Neck reach: Don’t crane the neck to fake depth. Pull the chest toward the bar with ribs stacked.
- Elbows flaring: Keep elbows angling slightly forward to stay centered in the shoulder socket.
Recovery, Mobility, and Injury Prevention
Vertical pulling is shoulder-friendly when you respect volume and range of motion. Keep the ribcage stacked over the pelvis and let your shoulder blades move freely. If your forearms or elbows feel overworked, reduce weekly volume for 1–2 weeks and emphasize tempo-controlled eccentrics and neutral grips.
- Soft-tissue and mobility: Light forearm massage, wrist flexor stretches, and thoracic mobility drills prime better overhead positions.
- Isometric holds: Pauses at the top and mid-range build tendon resilience without unnecessary joint stress.
- Load management: Track weekly total reps and avoid sudden jumps of more than ~20%.
Accessory Work That Accelerates Results
Smart accessories reinforce the pattern, arm strength, and scapular mechanics. Combine vertical pulling with horizontal rowing for a balanced upper back.
- Face pulls and band pull-aparts: Teach external rotation and scapular control.
- Chest-supported rows: Build mid-back without taxing the low back.
- Biceps work: Hammer curls and reverse curls carry over to elbow flexion strength.
- Core bracing: Dead bug variations and hollow holds stabilize the trunk for stronger vertical pulling.
Progress Tracking and Breaking Plateaus
Tracking makes improvement predictable. Log your reps, sets, RIR (reps in reserve), and tempo. When progress stalls, change one variable at a time: grip, volume, or intensity. Wave loading (e.g., 5-3-1 reps across weeks) and density blocks (e.g., EMOMs) are reliable ways to restart momentum. If you’re close to a new rep PR, add isometric top holds and slow eccentrics; if you’re chasing heavier loading, reduce volume and sharpen technique for low-rep sets.
Nutrition and Body Composition
The lighter you are at a given strength, the easier bodyweight work becomes. Prioritize protein (0.7–1.0 g per pound of bodyweight), stay hydrated, and time carbs around training for energy. If cutting, manage volume carefully to protect joints and recovery while you maintain quality reps.
FAQs
How often should I train this movement?
Two to four sessions per week suits most people. Beginners may benefit from shorter, more frequent exposures for faster skill acquisition. Advanced lifters often thrive on alternating heavy and volume days.
What if my elbows hurt?
Switch to neutral or ring handles, reduce weekly volume by 20–30%, and emphasize slow eccentrics for 2–3 weeks. Add light forearm extensor work and avoid hanging by passive tissues at the bottom.
Should I use straps?
Straps can be useful on high-volume days or for eccentric-focused sets if your grip gives out early. Still train raw grip regularly to keep carryover high.
Is kipping appropriate?
Only after you own strict control and can maintain spinal position and shoulder stability. Treat dynamic styles as a separate skill with their own progressions and recovery needs.
Putting It All Together
Mastery comes from applying simple rules consistently: organize your body, engage from the back, own the full range, and progress one variable at a time. Choose two or three variations that suit your joints and goals, program them with clear intent, and track your results. Over months, you’ll feel stronger, move cleaner, and build a back that speaks for itself.
Action Plan: Your Next Four Weeks
- Week 1: Establish max easy reps with pristine form; select two supportive accessories and one core brace drill.
- Week 2: Add a set or slow the eccentric by 1–2 seconds per rep. Keep two reps in reserve on all sets.
- Week 3: Introduce a variation that targets your weak range (e.g., neutral grip or partials from the bottom third).
- Week 4: Retest your best set and compare video to Week 1. If joint-friendly, consider micro-loading or adding a small density block.
Stay patient, respect recovery, and let your data guide the next step. The bar always tells the truth—and with intentional practice, so will your results.